> For the complete documentation index, see [llms.txt](https://walfydoc.mrb-lab.com/llms.txt). Markdown versions of documentation pages are available by appending `.md` to page URLs; this page is available as [Markdown](https://walfydoc.mrb-lab.com/app/11.-admin-setup.md).
# 11. Admin Setup
To assign yourself as an admin of the app and to get access to your admin panel, follow the below steps:
* In the app, sign up using your email and password (not with social logins like google, FB, or apple).
{% hint style="info" %}
The email you will use to signup, it will be the admin email and password.
{% endhint %}
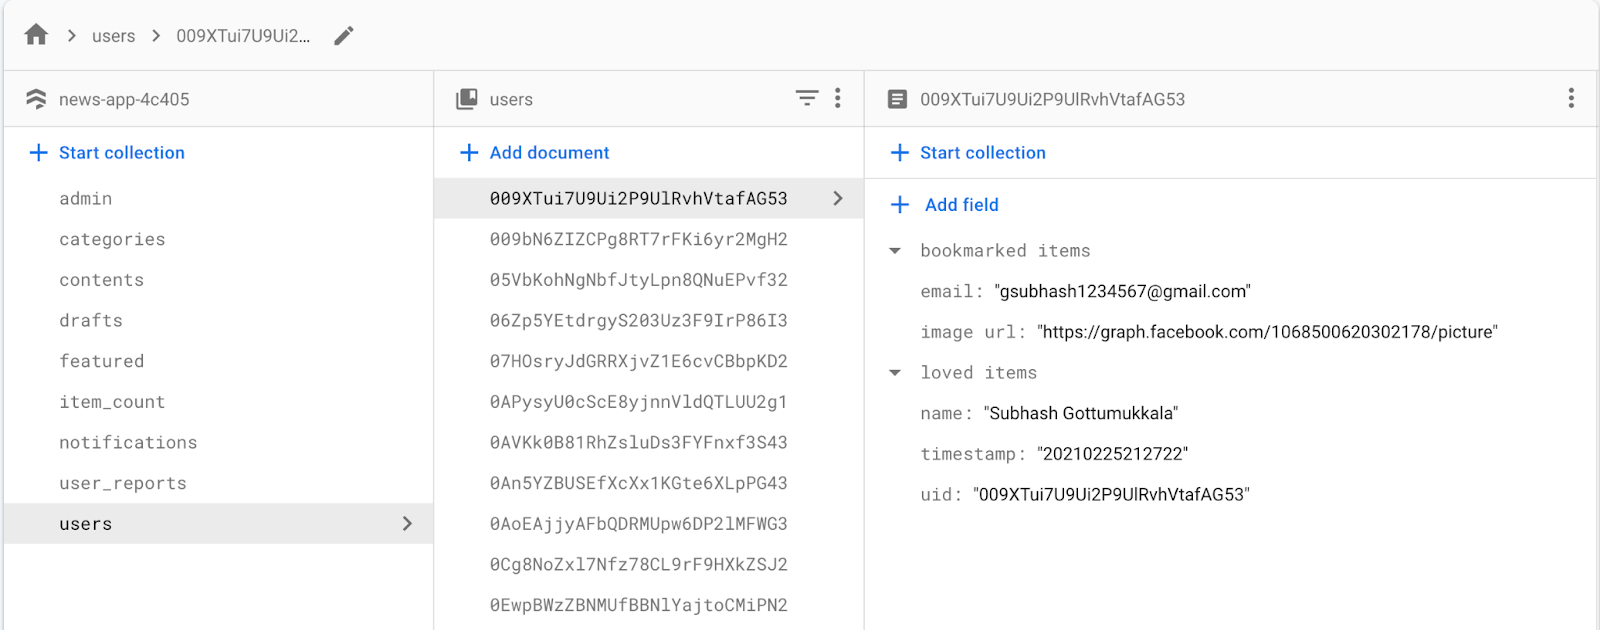
* After creating the account, now go to your **firebase console > your\_app > firestore database** and then you will see that a collection named **users** has been created.
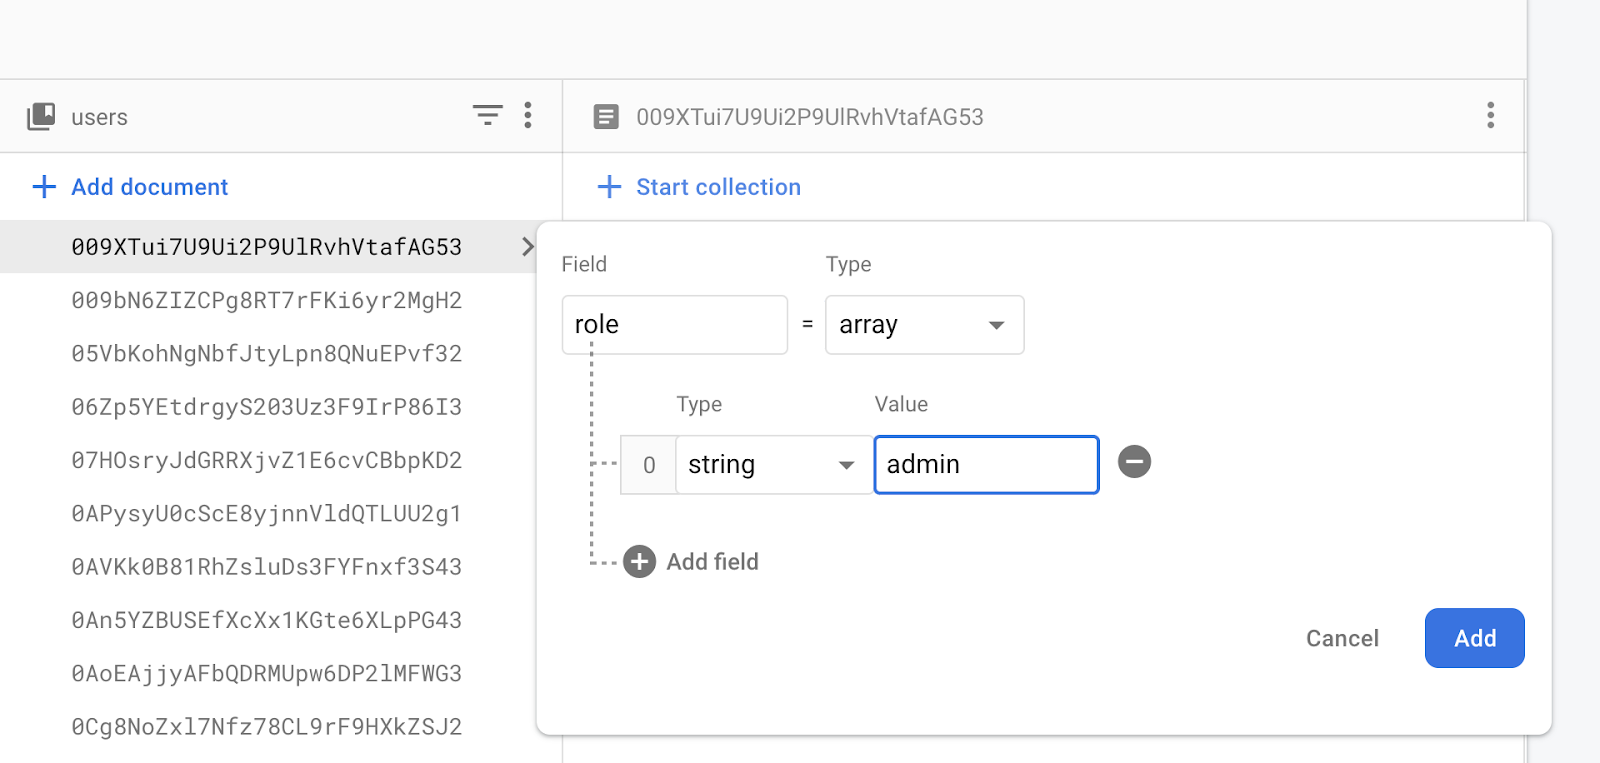
* Now click on your document and then create a field by **role** and then select **type** as an **array** and then in the first array enter the **admin** keyword and then click on the Add button.
{% hint style="info" %}
That’s it, Your admin setup has been completed. You can now login into your admin panel and add content. In this way, you can assign anyone as an admin of your app.
{% endhint %}